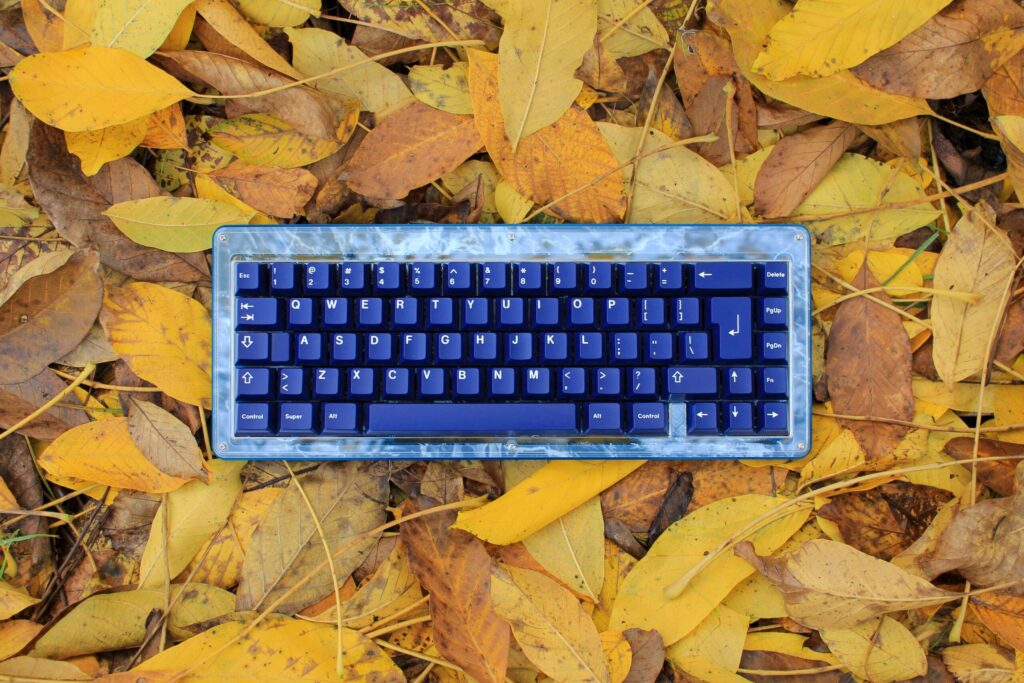
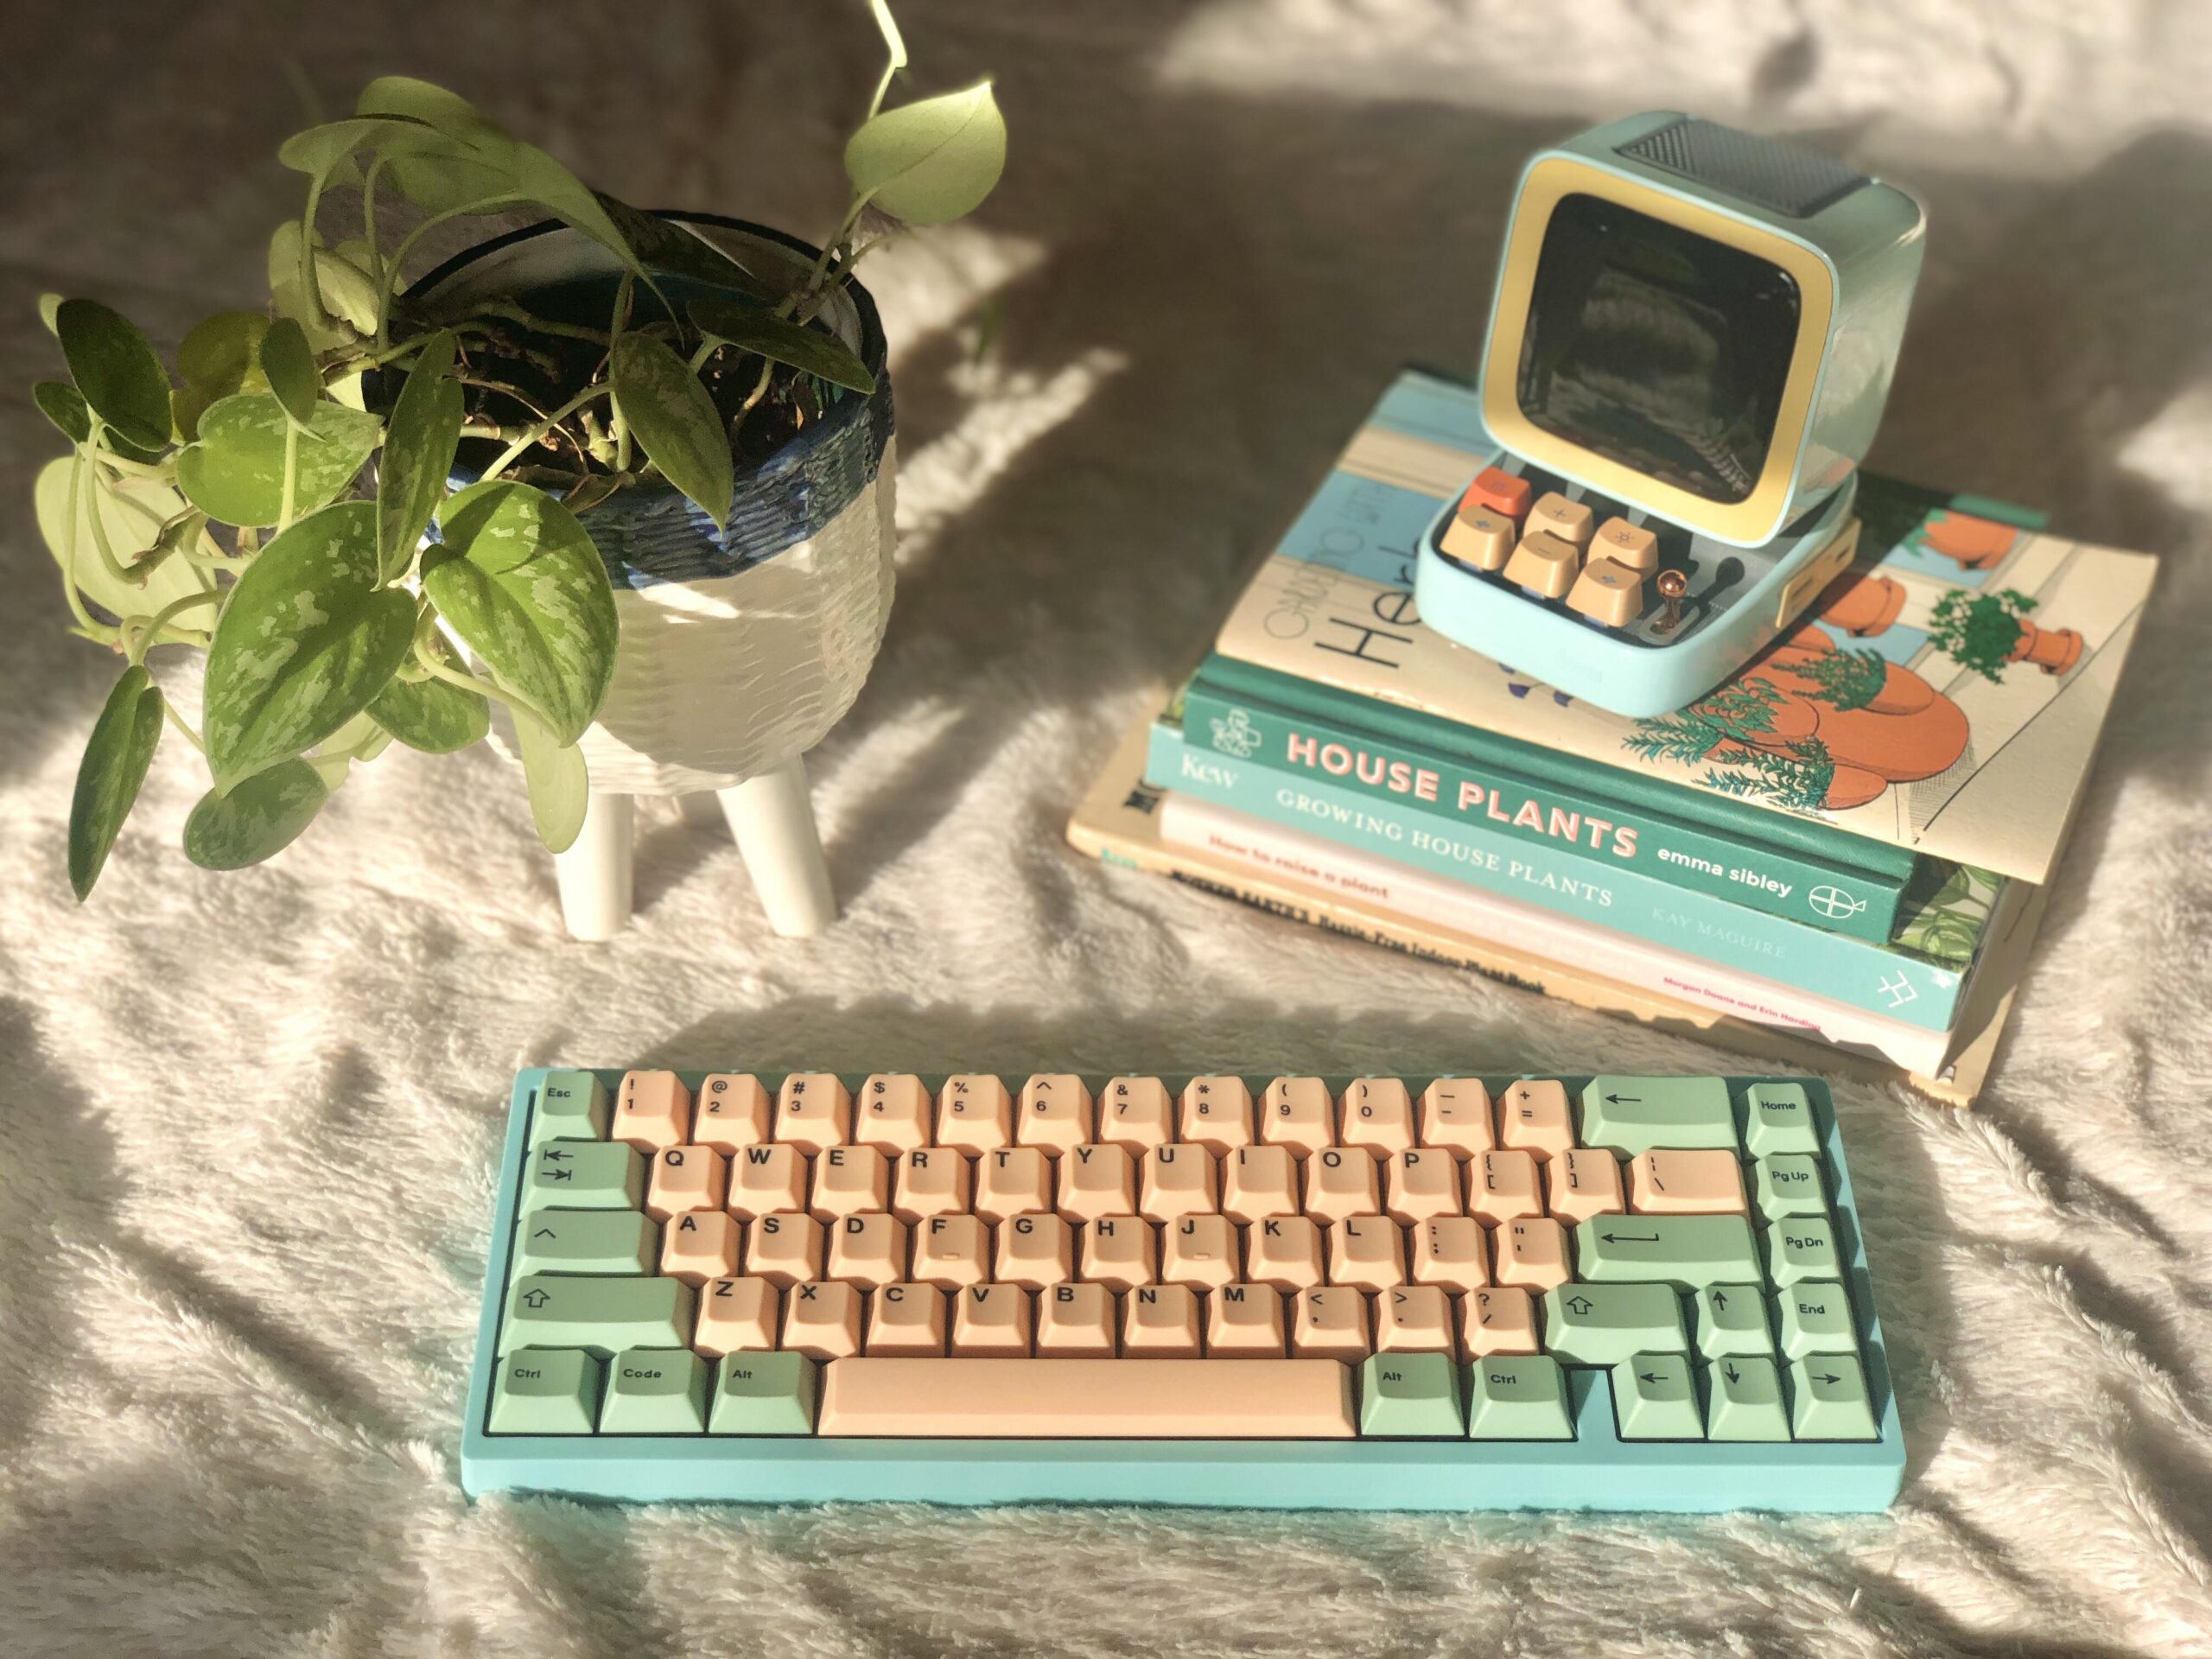
If you’re an avid mechanical keyboard user, you’ll know that keycaps can get dirty and grimy over time. This buildup can affect the look and feel of your keyboard, as well as its performance. In this article, we’ll show you how to properly clean and maintain your mechanical keyboard keycaps to keep them looking and performing like new.
Why Clean Your Mechanical Keyboard Keycaps?
Before we dive into how to clean your mechanical keyboard keycaps, it’s essential to understand why you should do it. Over time, your keycaps accumulate dirt, oils, and sweat from your fingers. This buildup can affect the look and feel of your keyboard, as well as its performance. Dirty keycaps can lead to stuck keys, reduced typing speed, and an overall unpleasant typing experience. Additionally, dirty keycaps can harbor bacteria and germs, which can be harmful to your health.
How Often Should You Clean Your Mechanical Keyboard Keycaps?
The frequency of cleaning your mechanical keyboard keycaps depends on how often you use your keyboard. Suppose you’re a heavy user and type on your keyboard every day for hours. In that case, you may want to clean your keycaps every two to three months. However, suppose you’re a light user and only type on your keyboard occasionally. In that case, you may only need to clean your keycaps once or twice a year.
What You’ll Need to Clean Your Mechanical Keyboard Keycaps
Before you start cleaning your mechanical keyboard keycaps, you’ll need a few essential items. Here’s what you’ll need:
- A bowl of warm water
- Mild dish soap
- Keycap puller
- Microfiber cloth
- Soft-bristled toothbrush
- Cotton swabs
How to Clean Your Mechanical Keyboard Keycaps
Now that you have everything you need let’s dive into the step-by-step process of cleaning your mechanical keyboard keycaps:
Step 1: Remove Your Keycaps
The first step in cleaning your mechanical keyboard keycaps is to remove them from your keyboard. To do this, use a keycap puller to gently lift each keycap from its switch.
Step 2: Soak Your Keycaps
Once you’ve removed your keycaps, place them in a bowl of warm water with a few drops of mild dish soap. Let them soak for about 30 minutes to loosen up any dirt and grime.
Step 3: Scrub Your Keycaps
After soaking, use a soft-bristled toothbrush to scrub each keycap gently. Be sure to scrub all sides of each keycap to remove any remaining dirt and grime.
Step 4: Rinse and Dry Your Keycaps
Once you’ve finished scrubbing your keycaps, rinse them under warm water to remove any remaining soap. Then, pat them dry with a microfiber cloth and let them air dry completely.
Step 5: Reinstall Your Keycaps
After your keycaps are dry, use a keycap puller to reinstall them onto your keyboard.

Tips for Maintaining Your Mechanical Keyboard Keycaps
Cleaning your mechanical keyboard keycaps is an excellent way to maintain them, but there are a few additional tips you can follow to keep them looking and performing like new:
- Avoid eating or drinking near your keyboard to prevent spills and stains.
- Wash your hands before using your keyboard to reduce oil and dirt buildup.
- Use a keyboard cover to protect your keycaps from dust and dirt.
- Store your keyboard in a cool, dry place to prevent discoloration and warping.
Conclusion
Cleaning and maintaining your mechanical keyboard keycaps may seem like a daunting task, but it’s essential to keep them looking and performing like new. Follow the step-by-step process outlined in this article to keep your keycaps free of dirt and grime. Remember to clean your keycaps regularly, depending on your usage, and follow the tips for maintaining your keyboard keycaps. By doing so, you’ll not only extend the life of your keyboard but also improve your typing experience.
FAQs
- Can I clean my mechanical keyboard keycaps with rubbing alcohol?
- While rubbing alcohol can be used to clean your keycaps, it’s best to use a mild dish soap and warm water solution. Rubbing alcohol can damage the plastic keycaps over time.
- Can I put my keycaps in the dishwasher?
- No, it’s not recommended to put your keycaps in the dishwasher. The high temperatures and harsh detergents can damage the plastic and cause warping.
- How often should I replace my mechanical keyboard keycaps?
- It depends on your usage and the quality of the keycaps. High-quality keycaps can last for years, while lower quality keycaps may need to be replaced after a few months.
- How can I prevent my keycaps from getting dirty?
- To prevent your keycaps from getting dirty, wash your hands before using your keyboard, avoid eating and drinking near your keyboard, and use a keyboard cover to protect your keycaps from dust and dirt.
- Can I use a hairdryer to dry my keycaps?
- It’s not recommended to use a hairdryer to dry your keycaps as the high heat can cause warping and damage to the plastic. Instead, pat them dry with a microfiber cloth and let them air dry completely.

