
Are you tired of your old, boring keyboard? Do you want to upgrade to a custom mechanical keyboard that not only looks great but also feels amazing to type on? Building your own custom mechanical keyboard may seem intimidating, but with the right guidance and tools, it can be a fun and rewarding project. In this article, we will provide you with a step-by-step guide on how to build your own custom mechanical keyboard, including all the necessary components and tools.
Introduction
Custom mechanical keyboards have gained popularity in recent years due to their durability, customization options, and superior typing experience. Building your own custom mechanical keyboard allows you to choose the layout, switches, keycaps, and overall design to fit your preferences and needs.
Choosing the Right Keyboard Layout
The keyboard layout determines the number of keys and their placement on the keyboard. There are various keyboard layouts, such as ANSI, ISO, and HHKB, each with its own pros and cons. It is crucial to choose the layout that suits your typing style and needs. For example, if you are a programmer, a keyboard with a separate numpad may not be necessary, and you may prefer a smaller layout like 60% or 75%.
Selecting the Switches
Switches are the heart of a mechanical keyboard, and they come in various types, such as Cherry MX, Gateron, and Kailh. Each switch type has its own characteristics, such as actuation force, tactile feedback, and sound. It is essential to choose the switches that fit your typing preferences and style. For example, if you prefer a tactile bump when typing, switches like Cherry MX Brown or Gateron Brown may be suitable for you.
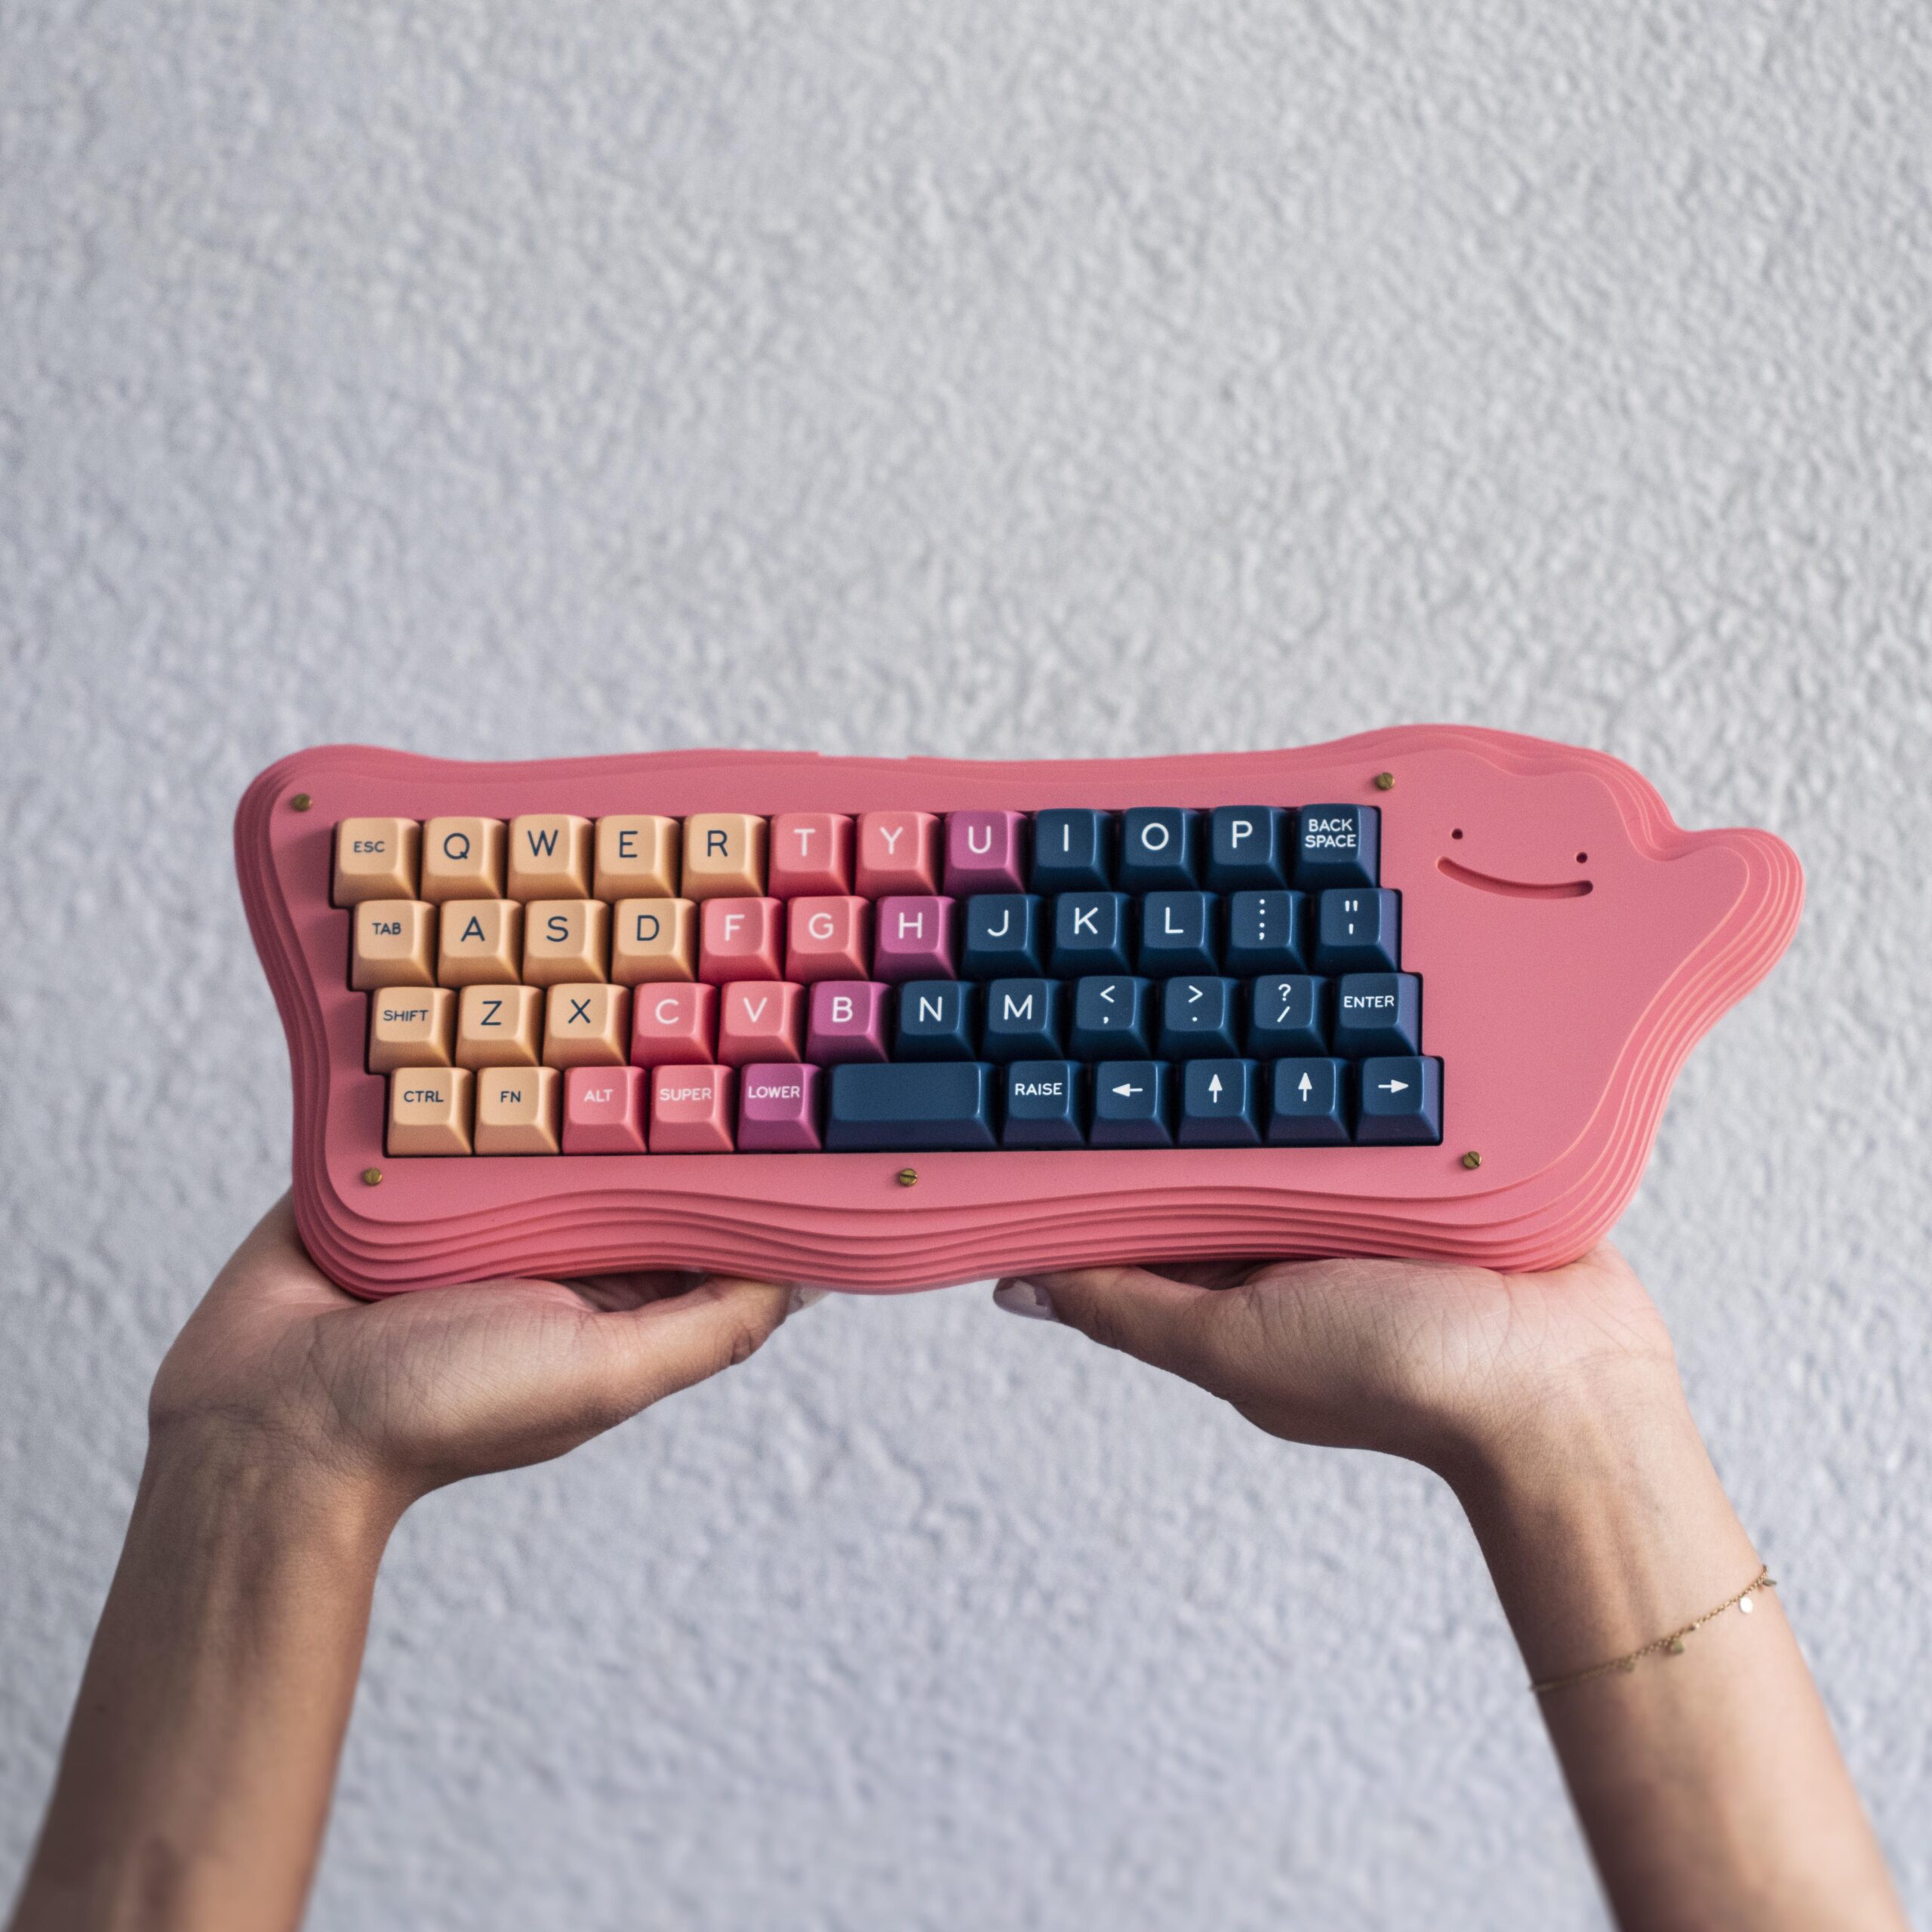
Picking the Keycaps
Keycaps are the visible part of a keyboard, and they come in different sizes, shapes, and materials. Keycaps can be made of ABS, PBT, or other materials, each with its own texture and durability. It is important to choose the keycaps that match the keyboard layout and switches, as some keycaps may not fit certain layouts or switch types.
Choosing the Keyboard Plate
The keyboard plate is the metal or plastic frame that holds the switches and keycaps in place. It comes in different materials, such as aluminum, brass, and polycarbonate, each with its own weight and sound profile. The keyboard plate also determines the layout compatibility and switch mounting style. It is crucial to choose the keyboard plate that fits your chosen layout and switch type.
Selecting the PCB
The PCB (Printed Circuit Board) is the electronic component that connects the switches and keycaps to the computer. It comes in various sizes and configurations, such as hot-swappable, solderable, or wireless. The PCB also determines the keyboard’s programmability and features, such as RGB lighting and macro support. It is important to choose the PCB that matches your layout, switch type, and desired features.
Soldering the Switches
If you choose a solderable PCB, you will need to solder the switches to the PCB. Soldering requires some practice and patience, but it is not difficult to learn.
Here are the steps to solder the switches to the PCB:
- Place the switches on the PCB according to the layout.
- Heat up the soldering iron and apply some solder to the tip.
- Touch the tip of the soldering iron to the pad on the PCB and the metal leg of the switch at the same time.
- Hold the soldering iron in place for a few seconds until the solder melts and forms a bond between the switch and the PCB.
- Repeat the process for all the switches.
Installing Stabilizers
Stabilizers are the mechanical components that keep the larger keys, such as the spacebar and the shift key, stable and consistent when pressed. Stabilizers come in different types, such as plate-mounted and PCB-mounted. It is important to install the stabilizers correctly to prevent any rattling or wobbling of the larger keys. Here are the steps to install stabilizers:
- Insert the stabilizer wire into the stabilizer housing.
- Place the stabilizer housing onto the stabilizer slot on the keyboard plate.
- Press the larger keycap onto the stabilizer housing until it clicks into place.
Assembling the Keyboard
Once all the components are ready, it is time to assemble the keyboard. Here are the steps to assemble the keyboard:
- Place the switches into the keyboard plate.
- Install the stabilizers onto the larger keys.
- Attach the PCB onto the keyboard plate.
- Screw the keyboard plate and PCB together.
- Attach the keycaps onto the switches.
Programming the Keyboard
If your PCB is programmable, you can customize the keyboard layout, functions, and lighting effects using software. Each PCB has its own software and instructions, but most of them are user-friendly and intuitive. Programming the keyboard allows you to create a personalized typing experience that suits your needs and preferences.
Testing and Troubleshooting
Before using the keyboard, it is important to test it and troubleshoot any issues that may arise. Here are some common issues and solutions:
- Some keys do not register: Check the soldering joints and the PCB connections.
- The keys feel scratchy or wobbly: Check the stabilizers and the switch alignment.
- The keyboard does not work: Check the USB connection and the firmware.

Conclusion
Building your own custom mechanical keyboard may seem daunting at first, but it can be a fun and rewarding experience that results in a personalized and high-quality typing tool. By following this step-by-step guide, you can select the right components, assemble the keyboard, and customize it to your liking. Remember to take your time, practice, and enjoy the process.
FAQs
- How much does it cost to build a custom mechanical keyboard?
The cost of building a custom mechanical keyboard varies depending on the components and materials used. A basic build can cost around $100-$150, while a high-end build can cost over $500.
- Do I need to know how to solder to build a custom mechanical keyboard?
Not necessarily. Some PCBs are hot-swappable, which means you can insert and remove switches without soldering. However, soldering may be required for some components and modifications.
- What are the benefits of a custom mechanical keyboard?
Custom mechanical keyboards offer several benefits, such as durability, customization options, superior typing experience, and aesthetics. You can choose the layout, switches, keycaps, and overall design to fit your preferences and needs.
- Can I use any keycaps on my custom mechanical keyboard?
Not all keycaps are compatible with all keyboards. It is important to choose keycaps that match your keyboard layout and switch
type. Keycaps come in different profiles, sizes, and materials, so it is important to do some research and choose the ones that fit your keyboard and style.
- What is the difference between a mechanical keyboard and a regular keyboard?
A mechanical keyboard uses individual mechanical switches for each key, which provides a tactile and audible feedback when typing. A regular keyboard uses rubber dome or membrane switches, which have a mushy feel and do not offer as much feedback. Mechanical keyboards are also generally more durable and customizable than regular keyboards.